
Understanding Vapor Barrier Installation
What is a Vapor Barrier?
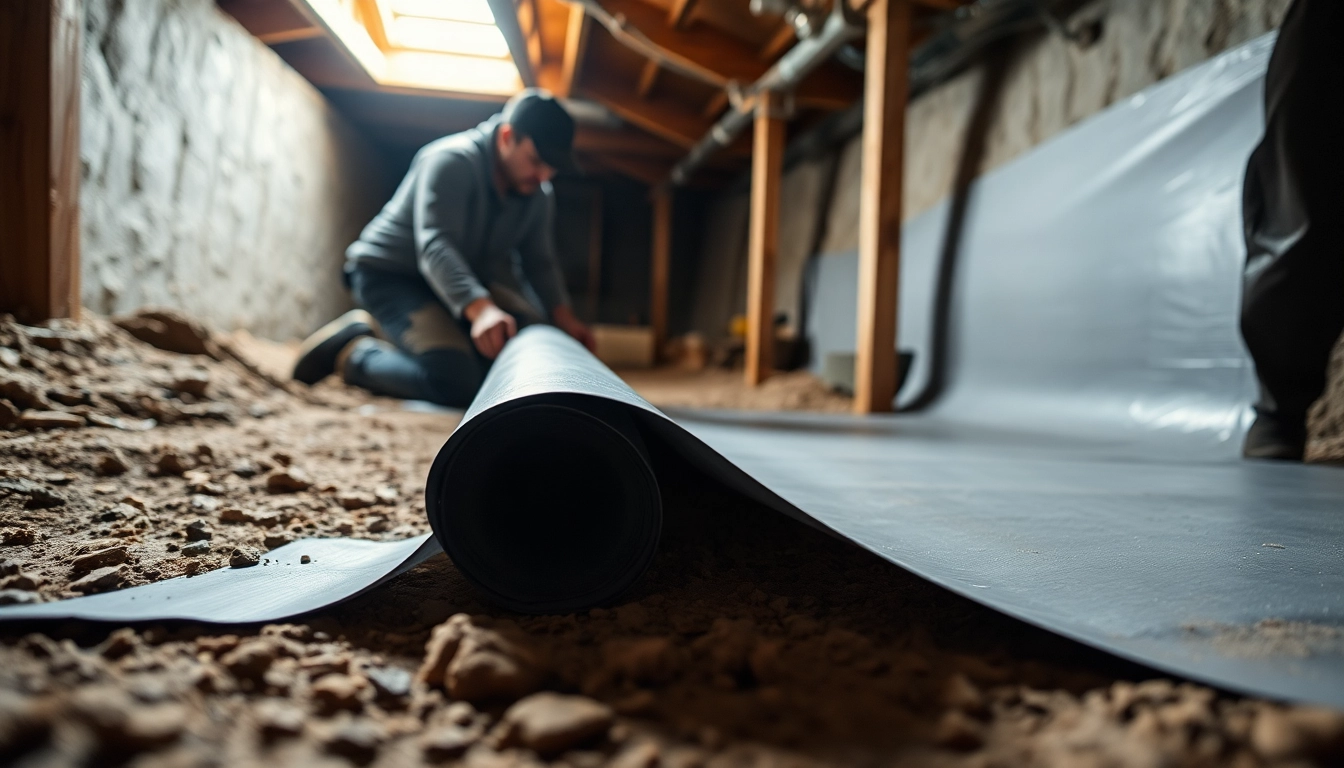
A vapor barrier is a material specifically designed to prevent moisture from passing through it. In residential settings, it is primarily utilized in basements and crawl spaces to inhibit ground moisture from permeating into the living areas of the home. These barriers are typically crafted from polyethylene plastic sheeting or reinforced foil and are strategically installed to protect structures from various moisture-related issues, including mold growth, wood rot, and structural damage.
Importance of Vapor Barrier Installation
The installation of a vapor barrier is crucial when aiming to maintain a safe and healthy indoor environment. By sealing off moisture, vapor barriers help to regulate humidity levels in the home, thus reducing the risk of mold and mildew development. Moreover, effective vapor barriers can enhance energy efficiency by stabilizing temperatures and lowering heating and cooling costs. Proper Vapor Barrier Installation can also help extend the longevity of the home’s structural components, ultimately safeguarding the investment property owners have made.
Common Myths Debunked
- Myth 1: Vapor barriers are only necessary in humid climates.
In reality, ground moisture can penetrate homes in any location, making vapor barriers beneficial regardless of regional climate. - Myth 2: Vapor barriers trap moisture.
When installed correctly, vapor barriers effectively direct moisture away from living spaces rather than trapping it. - Myth 3: All vapor barriers are the same.
Different products serve different purposes; thus, it’s vital to choose the right type for your specific needs.
Preparing for Installation
Assessing Your Crawlspace Environment
Before beginning vapor barrier installation, a thorough assessment of the crawl space is essential. Check for standing water, leaks, or signs of pest infestation, as these factors could complicate the installation process. Additionally, ensure proper drainage and ventilation; a well-maintained environment is crucial for the effectiveness of the vapor barrier.
Materials Needed for Vapor Barrier Installation
To execute a successful vapor barrier installation, you will need several materials, including:
- High-quality polyethylene sheeting (typically 6 mil or thicker)
- Adhesive tape for sealing seams
- Ground stakes or cap nails for securing the barrier
- Protective gear like gloves and masks
- Measuring tape for accurate sizing
Safety Precautions to Take
Safety should always be a priority during installation. Use protective gloves and masks, especially if you encounter mold or chemical residues. Ensure the working area is well-ventilated and consider using knee pads for comfort, as you will be kneeling frequently. Finally, take care when moving within tight crawl spaces to avoid injuries.
The Installation Process
Step-by-Step Guide to Vapor Barrier Installation
The installation process can be broken down into several key steps:
- Preparation: Clear the crawl space of obstacles, dirt, and debris.
- Measure: Accurately measure the dimensions of the area to determine how much vapor barrier material is needed.
- Cuts: Cut the polyethylene sheeting to fit the space, ensuring overlap for seams.
- Placement: Lay down the vapor barrier across the ground, allowing up to 12 inches of overlap on seams.
- Securing: Employ adhesive tape to seal seams and use stakes or cap nails to secure the material at corners.
- Wall Installation: Extend the barrier up the walls of the crawl space, sealing the edges thoroughly.
- Final Inspection: Ensure everything is installed correctly, with no exposed seams or gaps.
Common Mistakes to Avoid
While installing a vapor barrier, it’s vital to avoid common pitfalls, such as:
- Failing to clean the area adequately before installation.
- Using material that is thinner than recommended, compromising effectiveness.
- Neglecting to overlap seams, which can lead to moisture intrusion.
- Not securing the material properly, resulting in shifting over time.
Best Practices for Long-Term Performance
To ensure your vapor barrier installation remains effective for years to come, consider these best practices:
- Regularly inspect the vapor barrier for signs of wear or damage.
- Maintain the crawl space environment by monitoring humidity levels.
- Ensure proper ventilation is maintained to promote air circulation.
- Address any leaks or dampness immediately to avoid complications.
Post-Installation Maintenance
Checking for Damage and Wear
After installation, periodic checks are essential. Look for rips, punctures, or deterioration of the barrier. If any signs of damage are found, repair the affected area with the appropriate materials, ensuring a tight seal to prevent moisture issues.
How to Clean Your Vapor Barrier
Cleansing the vapor barrier can help maintain its effectiveness. Use a mild soap solution and a soft-bristled brush to gently scrub the surface. Avoid harsh chemical cleaners that could degrade the barrier. Ensure the area is dried thoroughly after cleaning, as lingering moisture can become problematic.
Signs You Need a Replacement
Keep an eye out for these signs indicating that a replacement is needed:
- Visible rips or tears in the barrier
- Persistent mold or mildew smell in your home
- Increased humidity levels in the crawl space
- Water pooling beneath or around the vapor barrier
Frequently Asked Questions
How long does a vapor barrier last?
A well-installed vapor barrier can last 10 to 20 years, depending on environmental conditions and the material quality.
Can I install a vapor barrier myself?
Yes, with the right tools and materials, homeowners can install a vapor barrier themselves, though professional assistance may ensure optimal results.
What happens if I don’t install one?
Without a vapor barrier, homes can experience higher humidity levels, leading to mold growth, wood rot, and potential structural damage over time.
Are there different types of vapor barriers?
Yes, vapor barriers vary in thickness and material type, including polyethylene, foil, and specialty membranes designed for specific environments.
Can a vapor barrier help with mold issues?
Yes, a properly installed vapor barrier blocks moisture, reducing humidity and the risk of mold growth significantly within the home.